
Sealing your tiles with silicone sealant is a clean way of improving the appearance and potency of your bathroom and kitchen tiles. This will not only keep your walls and floors dry, but it will give your home a stately look. It’s a simple technique you can fix without breaking the bank.
However, you need a quality silicone sealant that’ll have a long-lasting effect on your tiles—wondering how to apply a sealant? Don’t worry we got you covered as we share helpful simple tips on how to apply silicone like a pro. Let’s get started!

Preparation Of The Surface
It is essential to adequately prepare surfaces before beginning to seal tiles. Remove debris, grime, or soap scum from your tiles before doing anything else. A tile cleanser, warm water, vinegar, acetone, or methylated spirit would do the trick by degreasing it for easy removal. Wait until the tiles are completely dry after cleaning.
Also, any old sealant between the tiles should be scraped out. Carefully scrape the old glue away with a silicone sealant remover tool or a razor blade. Before moving on to the following step, remove all old silicone to avoid a fragile seal.
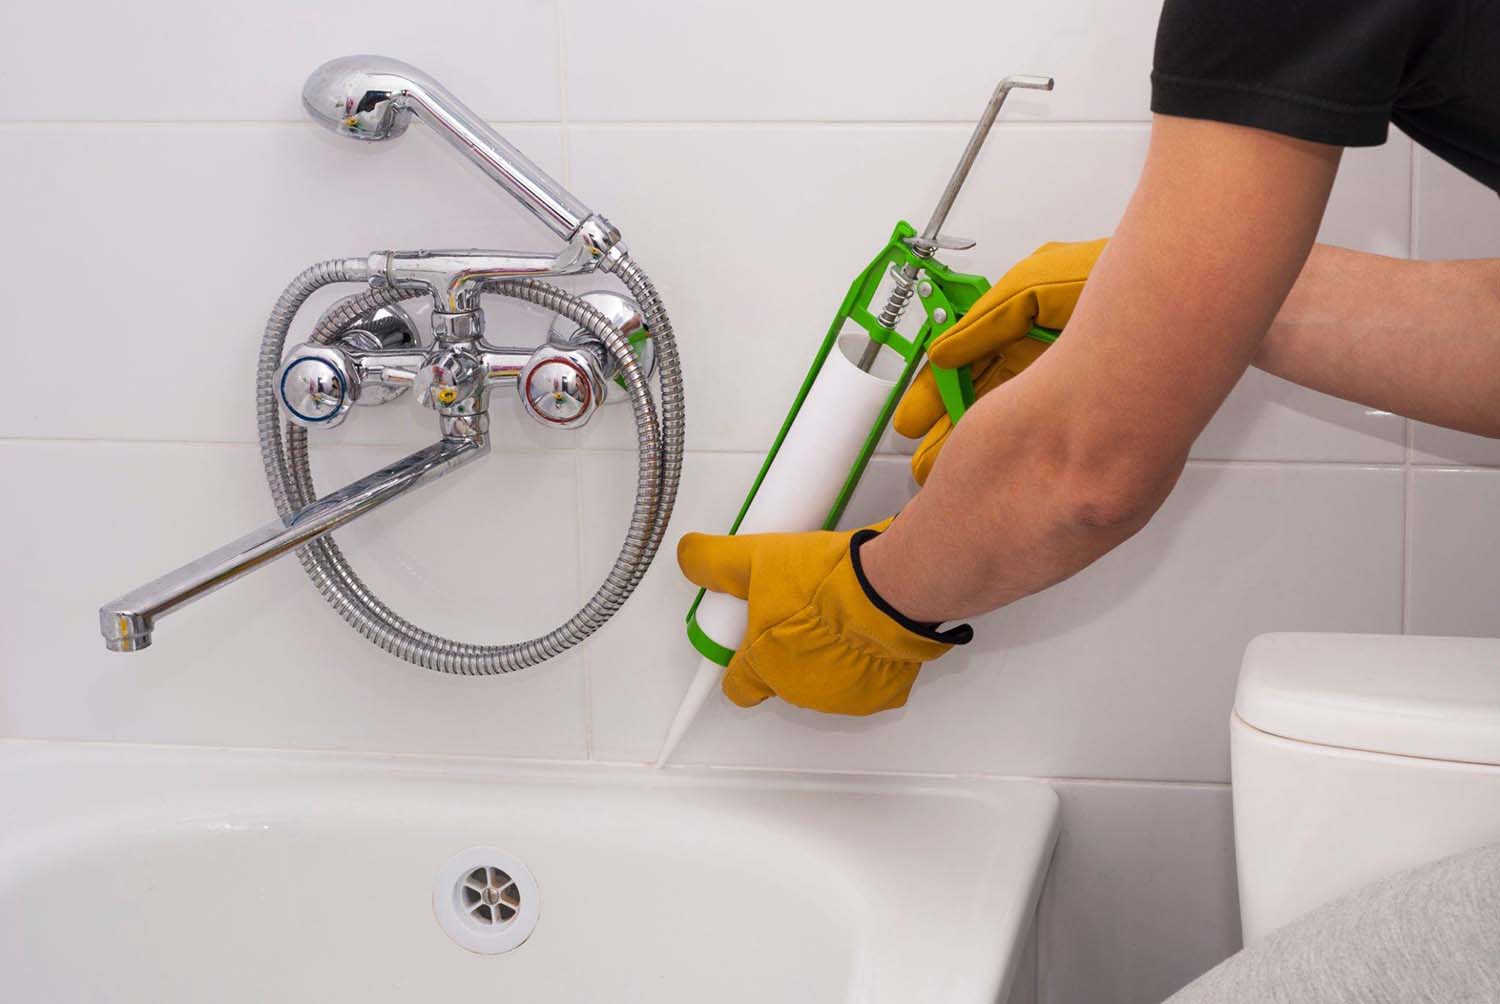
Application Of The Silicone Sealant
After mopping and drying the tiles, the next stage will be to get all the DIY materials you may need ready, such as your preferred product, silicone gun, profiling tool, expired credit card for smoothing, and gloves.
A wide range of DIY products is suitable for this job, like sealants, glues, epoxies, and adhesives are readily available. You can buy the ones specially designed for bathrooms and kitchens from UK online stores. Some of these sealants are resistant to mould and mildew and can be used in areas with a lot of moisture and humidity. Although new, improved ones are easy to apply and dry off pretty fast, wiping the surface dry before applying the sealant is still the best if you want to achieve a more lasting result.
Insert the silicone tube into the silicone gun and adjust the trigger until it is well-calibrated and placed properly on the tube. Cut the tip of the silicone tube with scissors or a razor and apply in a thin, even bead manner along the tile joints using the applicator gun. It’s important to seal any holes or cracks in the grout.
Applying sealants requires a steady hand so you don’t waste or create a mess. If you make a mistake, don’t worry; just use a damp sponge or towel to remove the excess.
Smoothing And Finishing Of The Surface
After applying, a polished appearance can be achieved by smoothing and finishing the silicone sealant. A profiling tool for smoothing or an expired credit card or even your finger will smoothen out the surface evenly.
If any lumps or ridges are along the caulk line, wet your finger or the tool and run it down the line. Using a damp sponge or cloth, remove any remaining silicone. If you press too hard, the silicone in the joint may be pushed out, so be careful. Allow the silicone to dry properly for about 24 hours before use.
Silicone tile sealing is an easy and affordable option to upgrade the look and performance of your kitchen and bathroom tiles. If you follow these easy steps, you’ll have a finished product that looks great and helps keep water out of your walls and flooring. It is important to find a high-quality silicone sealant that is meant specially for your need before applying it. Also, make sure your surfaces are clean and dry.
Putting in some time and work to seal your tiles properly can pay off as a beautiful and practical area that will last for years.


