Realistic drawing and painting can be confusing when you’re a beginner. The entire journey to realism is at times difficult and disappointing for many – but it doesn’t have to be.
Realistic art looks the most true-to-life. It looks authentic, and appears to breathe life onto your page. It can be easier to connect to and appreciate, because you can easily recognise what you see on that sheet of paper. It’s no wonder many artists spend copious amounts of time trying to master or perfect realistic techniques.
You can learn basic skills with helpful materials found online, like this drawing hands guide by BioWars and other step-by-step tutorials. You can also improve your overall artistic sensibility and skill set with these nine key factors for mastering realistic painting and drawing.
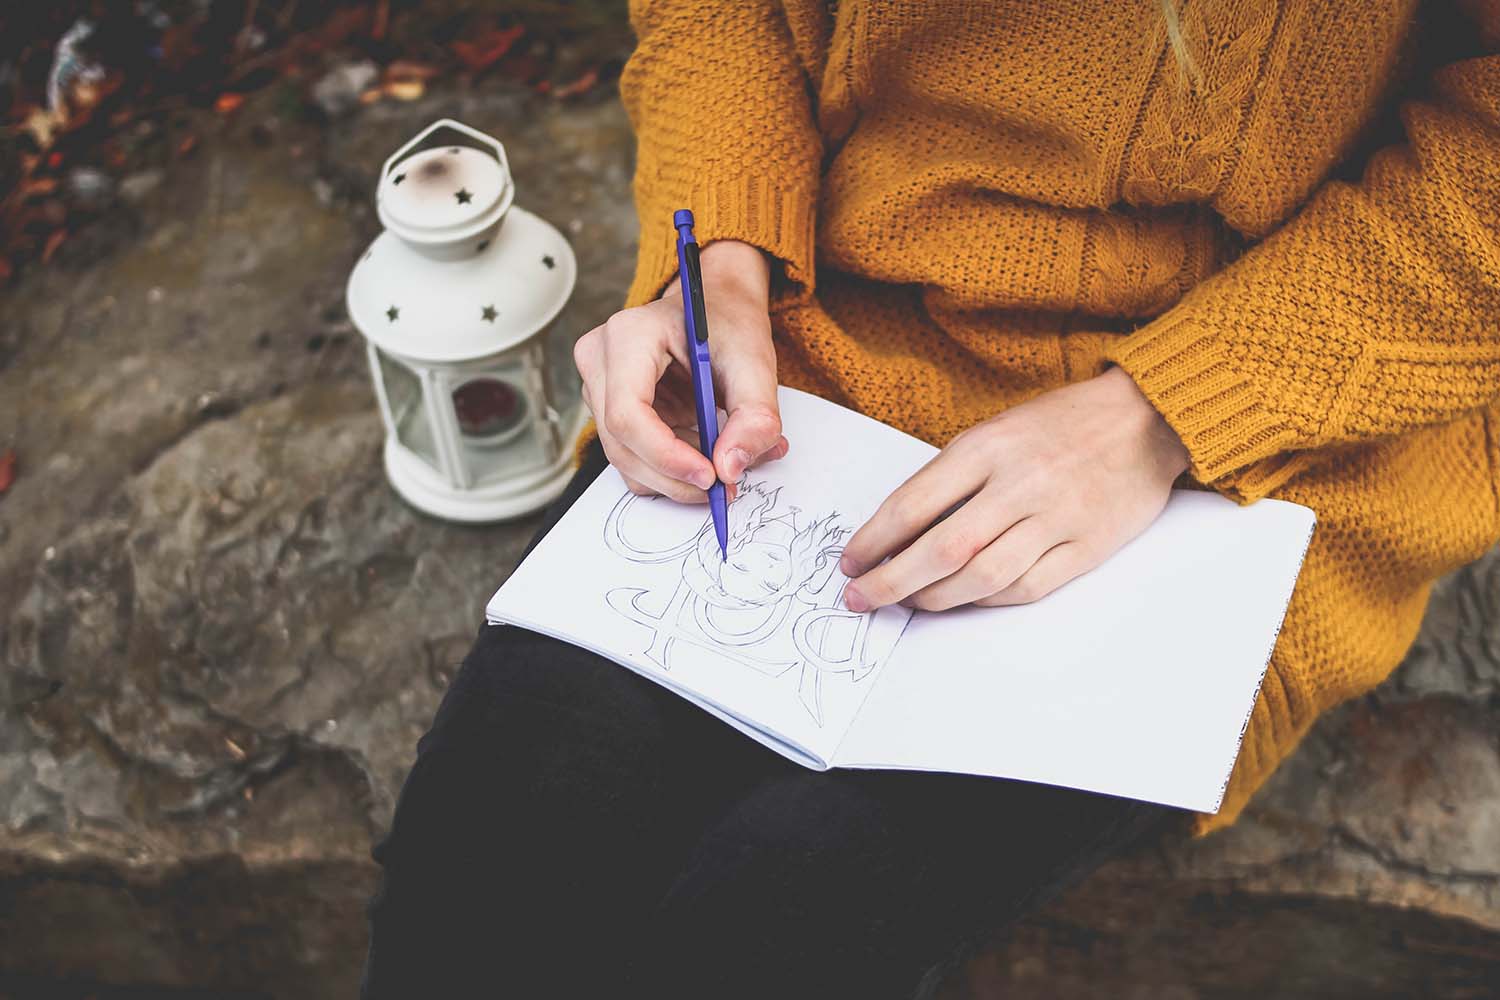
Photo, Daria Tumanova.
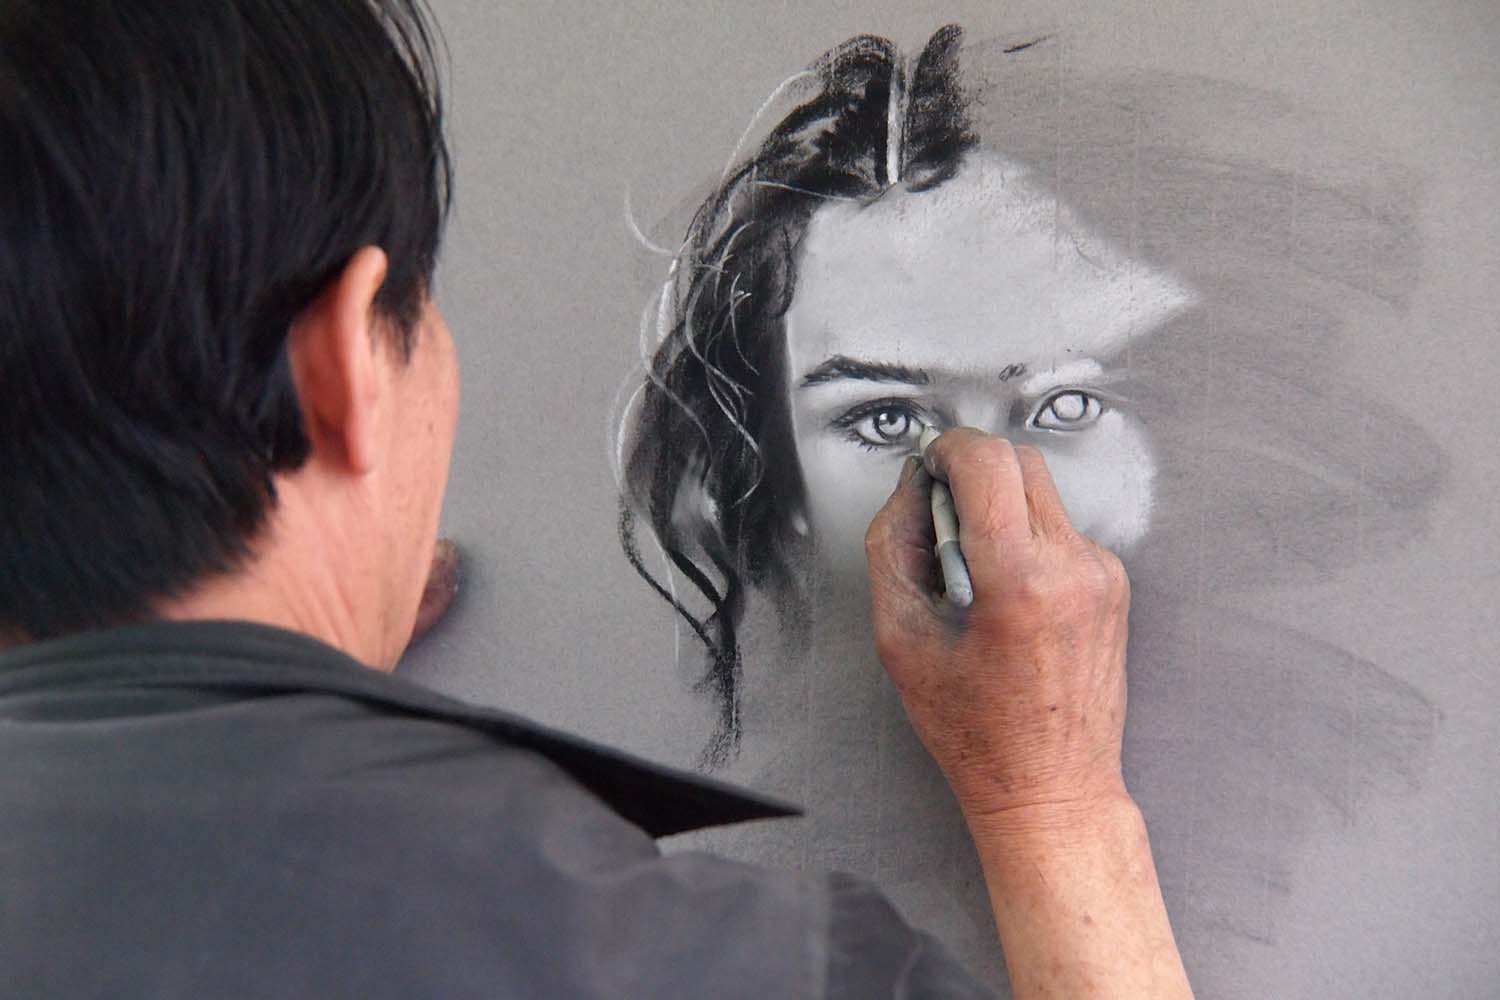
1 – Use a quality reference to practice precision
Think of a great composition before starting to draw. It’s essential to find a good quality reference for your piece. Use a photograph or a real-life model you can thoroughly analyse before and during your creative process.
When using an online photo, make sure it has a good resolution. This allows you to zoom in whenever you need to check details. Try using a good quality photo, not an overexposed or underexposed one where you can’t see details well.
Beginners can use photo-editing software like Photoshop to turn a colour image into black and white. This lets you easily notice light and dark points in the piece – and discerning between values is key to being able to draw them. Value is very important in obtaining realism, perhaps even more important than colour.
2 – Start with a sketch and work your way up from there
When starting your drawing, it’s essential to see what you’re looking at in simple shapes and focus less on details.
You must determine proportions and their locations first. After you manage to do so, you can move on to texture and shading. It’s terrible to spend hours upon hours with details and shading and then realise just how wrong your proportions are. You’d have to do a complete overhaul of your existing sketch.
Don’t forget to use a light hand when drawing your first sketches. You don’t want visible lines when working on a realistic drawing. Your sketch lines shouldn’t be visible by the time you finish your drawing.
3 – Avoid stark edges and lines
As previously mentioned, realism means subtle value differences. Play with light and shadow to get the desired effect, without outlining your shapes, like in cartoons.
However, you must use lines when working on textures like hair or fabrics. These kinds of lines are not uniform, though; they have variety in length and thickness.
Whether they’re around a shape or perspective or if they show up when you’re trying to create smooth gradients, it’s crucial to stay away from stark lines and edges.
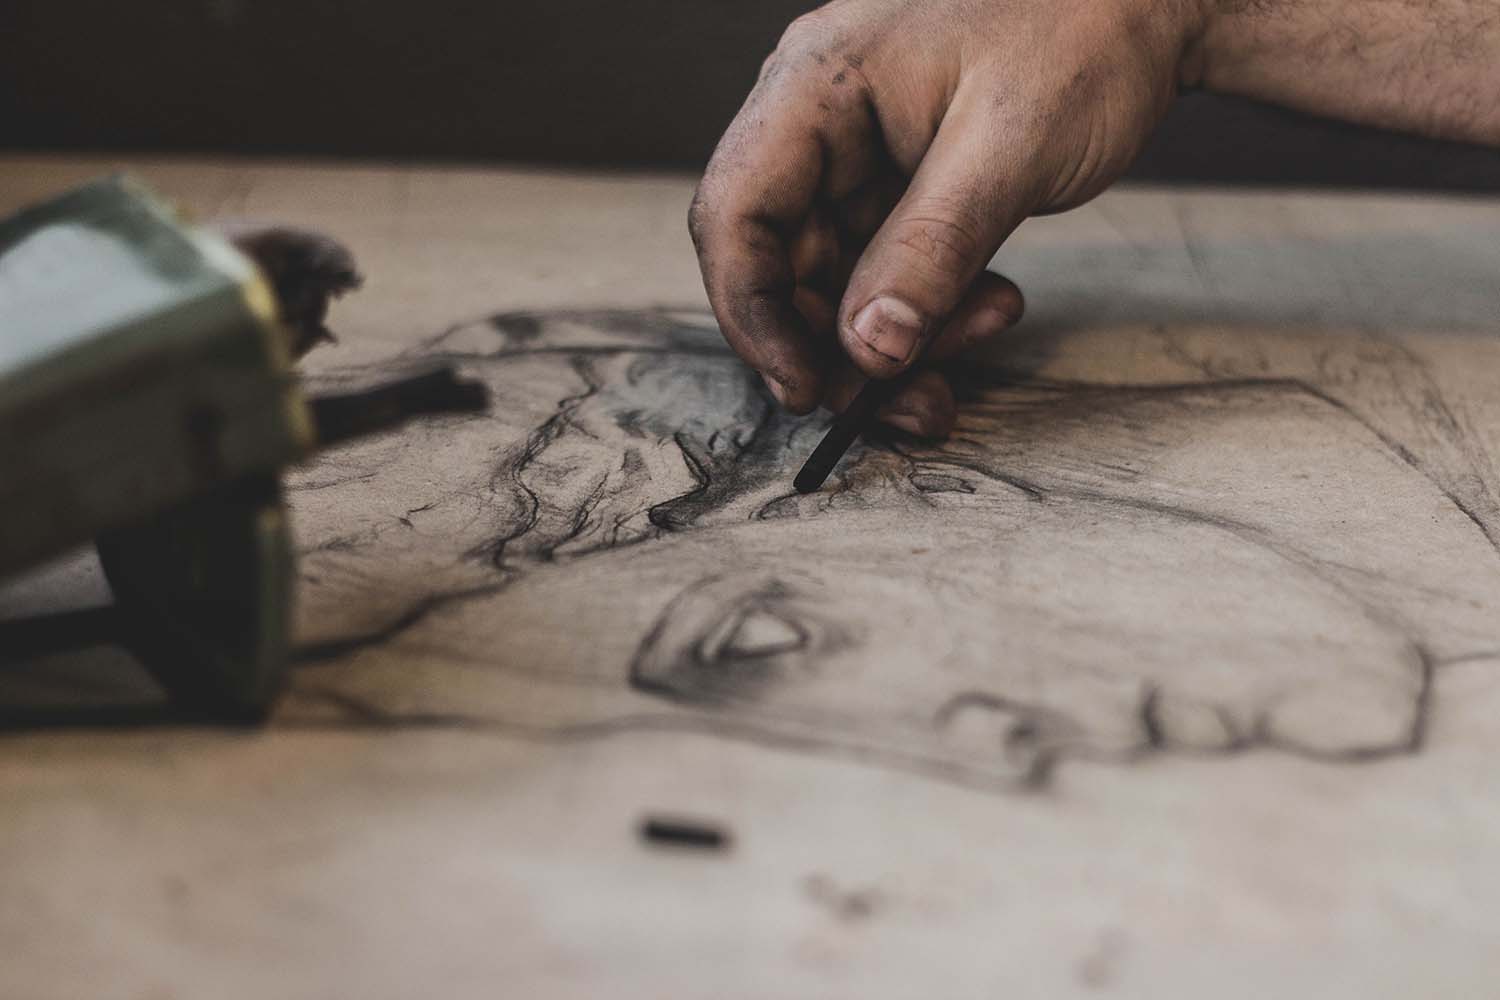
Photo, Dusan Kipic.
4 – Experiment with lighting sources and angles
Making a realistic painting is a matter of experimentation. As an artist, you’ll probably attempt a portrait at least once in your career. It’s a great way to develop your skills and understand new techniques. Plus, you can easily experiment with multiple lighting types.
The easiest way to practice and study light is through photo study. Portraits are available online, where you can find inspiration. A simple Google search will show you different types of lighting used in portraits: rim lighting, ambient light, backlighting, and lighting combinations.
Additional light sources, apart from your primary light in a drawing, can bring about a sentiment of magic and uniqueness. Try out a few studies to discover how lighting angles and sources work and how they improve your drawings.
5 – Work on your transitions
Realistic drawings have gradual and smooth transitions from light to dark. Most natural light reference photographs will show gradual lighting changes. You shouldn’t be able to notice abrupt changes between one colour and another. And there should be no stark lines between them, either.
Transitions are the changes you notice on a surface or an object. There are different types of transitions, such as:
– Transition in shade or color
– Transition in value – from dark to light
– Transition in temperature – from warm to cool tones
– Transition in edge – from blurry to sharp
– Transition in texture – from rough to smooth surfaces.
Each part of an object or surface has a relationship with a light source. When some parts are closer to the light source, they look brighter than those farther away. Also, consider reflections on shiny surfaces.
Pay attention to these transitions to avoid flat surfaces that should look more natural and uneven.
6 – Use natural colour palettes
Use colours to achieve realistic results. Your painting skills will develop in time, as will your trust in making the appropriate colour combinations.
It may be tempting to use the brightest and boldest colours, but they don’t usually bring the most realistic results. Instead, work with the colours you see in nature. Look for natural colour palettes and swatches to understand how to paint foliage or skin tones, for example.
Skin colours are very complex because of how the skin is built. You need to understand it better, which means more than just using different shades of orange, peach, or brown. You must learn to discern between small colour changes and reconstitute them in your paintings.
7 – Play with colour temperatures
Use colours to your advantage. That means identifying the type of colour in a photo or painting and emulating it in your drawing attempt. Colour temperature is a description of how cool or warm they are. Some colours are innately cold, while others are warm.
Yellow, orange, and red are warm colours because when you look at them, they remind you of hot things like fire. Purples, blues, and greens are cold colours because when you think about them, they remind you of cold things like the sea.
Remember that cold or warm colours can be even cooler or warmer. Adapt colour temperature to the feelings you want your painting to call forth. Play with natural light sources (the sky, the sun) and artificial light sources to create your realistic painting.

Photo, Štefan Štefančík.
8 – Incorporate texture
A great way to add realism to your drawings is to apply textures. You do that by adding photo textures (when you work digitally) or using your brushes with traditional painting.
Photo textures are the parts of photos you manipulate and blend into your work. They’re great when trying to add textures for clothes, skin, and gritty details.
Texture brushes allow traditional painters to create realistic landscapes, foliage, hair follicles, and more. Of course, you can also achieve digital realism by adding textured brushes in Photoshop. You can find them online or make your custom brushes if you feel like it.
9 – Saturation is your friend
Another aspect to consider when painting realistically is saturation, or how sharp or dull a colour is. When there is no saturation, you’re left with hues of grey. Maximum saturation happens with pure colours.
You determine saturation by making up the colour intensity. Reduce saturation by adding white, black, brown, or grey to intense colours. After you get some experience with colour saturation, you’ll notice just how saturated parts of any object are.
Conclusion
Through trial and error, you’ll manage to adapt your drawing style to realism and produce great paintings in due time.
Next time you see a photo you like, admire and study it. Then, try to replicate it with the info above in mind. Find your perfect formula by practicing with values, colours, and shapes. The results you’re looking for are sure to follow.


